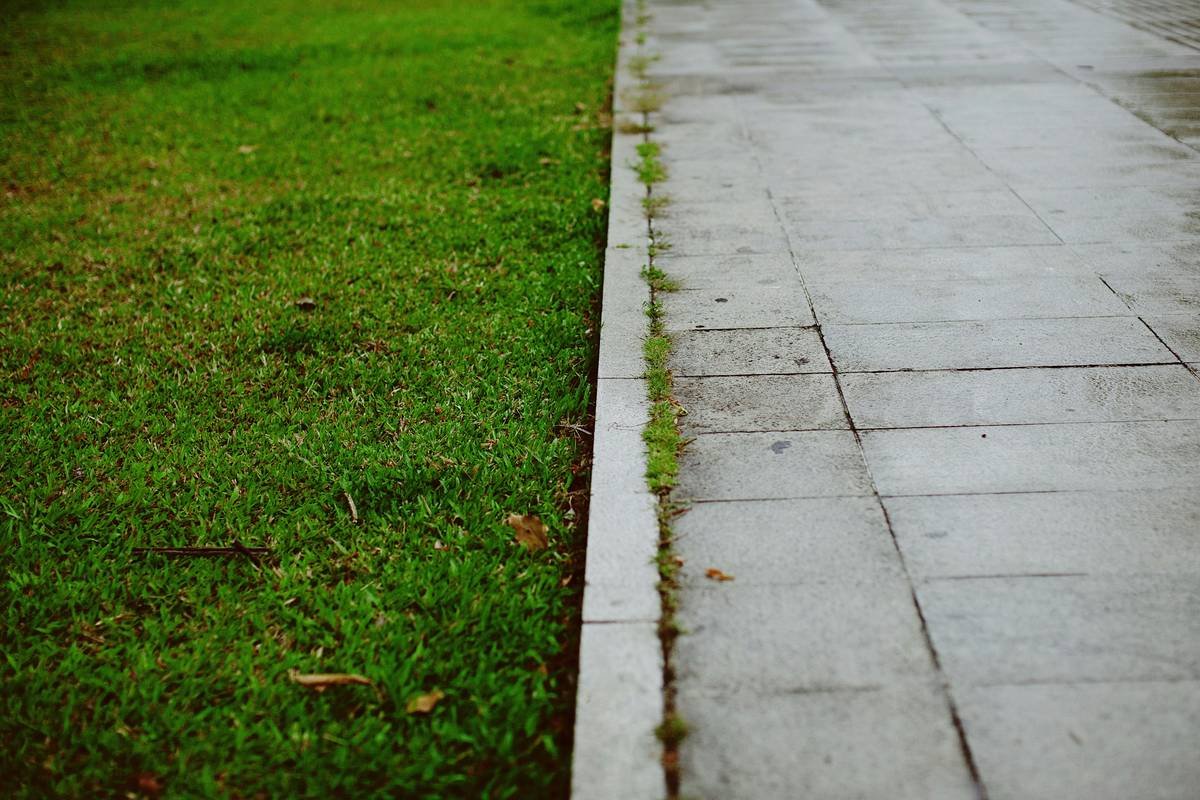
Ever spent an entire Saturday wrestling with overgrown grass creeping into your flower beds—only to see it back by Tuesday? You’re not alone. In fact, Gardening Know How reports that 68% of DIY gardeners cite “grass invasion” as their top outdoor maintenance headache. The culprit? Poorly defined edges—and the fix starts with one underrated tool: the yard edging shovel.
In this guide, you’ll discover why a dedicated yard edging shovel beats generic spades, how to choose the right one (spoiler: blade angle matters more than you think), and step-by-step techniques to create borders so sharp they’ll make your neighbors do a double-take. Plus: real fails I’ve lived through (like using a kitchen knife to “edge” a rose bed—yes, really), and why certain “hacks” are straight-up sabotage.
Table of Contents
- Why Yard Edging Actually Matters (Beyond Curb Appeal)
- How to Use a Yard Edging Shovel Like a Pro
- 5 Best Practices for Long-Lasting, Clean Edges
- Real Results: Before & After My Backyard Border Reboot
- Yard Edging Shovel FAQs
Key Takeaways
- A yard edging shovel has a narrow, vertically oriented blade designed specifically for slicing clean lines—not digging holes.
- Using the wrong tool (like a square spade) creates ragged edges that invite weeds and grass back in within days.
- Edging twice a year—spring and late summer—is ideal for most climates to suppress rhizome-spreading grasses like Bermuda or zoysia.
- Stainless steel blades resist rust and soil adhesion better than carbon steel, especially in humid regions.
- Proper technique involves a rocking motion, not brute force—your lower back will thank you.
Why Yard Edging Actually Matters (Beyond Curb Appeal)?
Let’s be real: garden edging isn’t just about looking Pinterest-perfect. It’s functional armor for your landscape. Without a physical barrier, aggressive grasses send underground runners (rhizomes) or above-ground stolons into mulched beds, turning your carefully curated perennials into a botanical battleground.
I learned this the hard way. Two summers ago, I skipped edging my front border while renovating my shed. By August, Bermuda grass had infiltrated my lavender patch. Not only did it choke out half the plants, but pulling it by hand tore up roots—wiping out $120 worth of drought-tolerant natives. According to the University of Georgia Extension, uncontrolled turfgrass can reduce ornamental plant survival by up to 40% within one growing season.
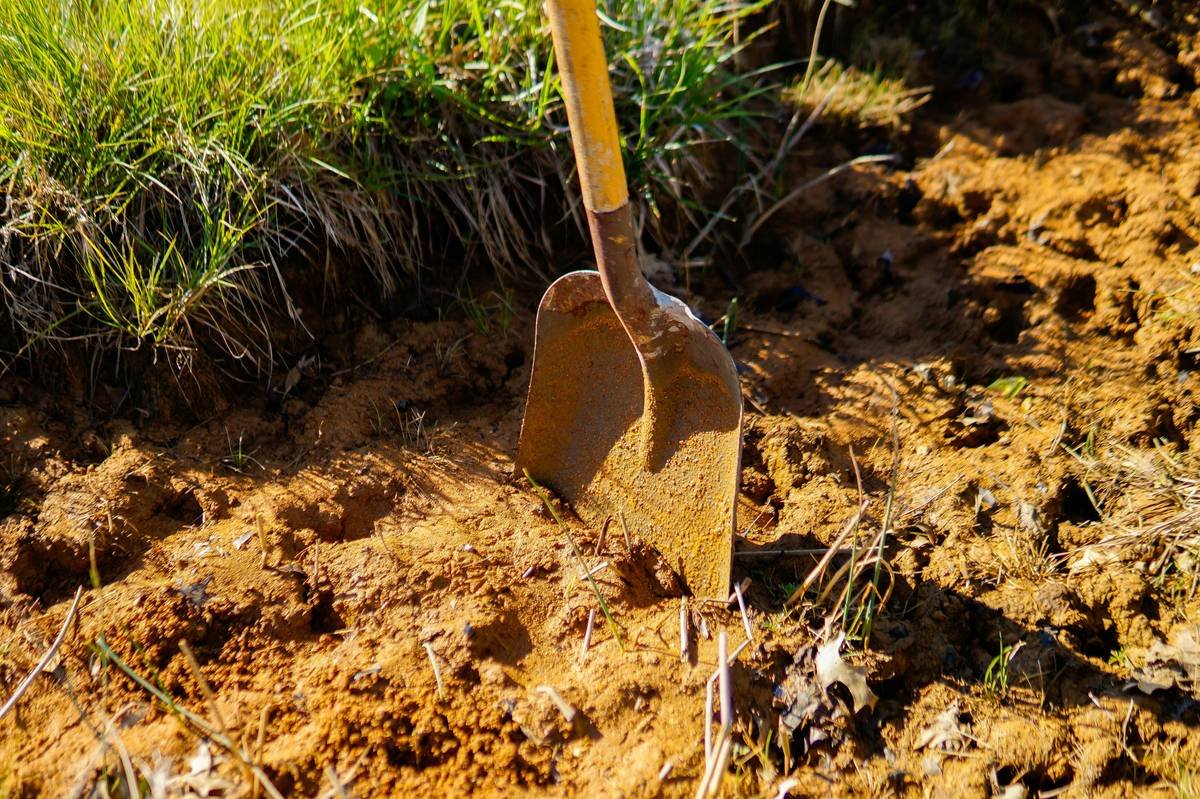
That’s where a purpose-built yard edging shovel changes everything. Unlike a standard spade, it features a long, narrow blade (typically 4–6 inches wide) set perpendicular to the handle. This geometry lets you drive straight down and slice a vertical trench—creating a root barrier that blocks invaders while defining a crisp visual line.
How to Use a Yard Edging Shovel Like a Pro?
What’s the difference between a yard edging shovel and a regular shovel?
Optimist You: “It’s all about precision! A yard edging shovel’s slim, straight-edge blade cuts vertically without displacing soil.”
Grumpy You: “Ugh, fine—but only if coffee’s involved… and you promise not to call it a ‘trowel’ again.” (Newsflash: trowels are for planting seedlings, not severing sod.)
Step 1: Prep Like You Mean It
Clear debris from your border line. If grass is already encroaching, trim it back with shears first. Wet soil is easier to cut—but don’t work in mud. Ideal moisture: when a handful of soil holds shape but crumbles when poked.
Step 2: Slice with Rhythm, Not Rage
Place the shovel blade where you want your edge. Step firmly on the shoulder (the flat top of the blade) and press straight down 3–4 inches. Don’t twist or lever—just a clean plunge. Then lift, shift 2 inches over, repeat. Think of it like using a cookie cutter on dough: steady, rhythmic, no sawing.
Step 3: Define the Trench
After your initial cut line, go back and deepen slightly if needed. For extra defense against runners, angle the inner bed side outward at 45 degrees—this makes it harder for grass to creep upward.
Step 4: Clean Up & Mulch
Rake out loose soil and toss excess onto your compost pile. Immediately apply 2–3 inches of mulch inside the bed—but never right against plant stems. This suppresses weeds and highlights your fresh edge.
5 Best Practices for Long-Lasting, Clean Edges
- Choose stainless steel over carbon steel. Rust not only weakens the blade but makes soil stick like glue. In humid zones (looking at you, Southeast U.S.), stainless pays for itself in longevity.
- Maintain your blade. After each use, hose off soil, dry thoroughly, and rub with linseed oil to prevent corrosion. Sharp edges cut cleaner—use a mill file annually.
- Edge in cool morning hours. Soil is firmer, and you avoid midday heat exhaustion. Yes, I passed out once edging at 2 p.m. in July. Don’t be me.
- Don’t over-edge. A trench deeper than 4 inches stresses plant roots and collects water. Stick to 3–4 inches unless battling super-aggressive grasses.
- Pair with landscape edging (optional but smart). For high-traffic areas or slopes, install metal or composite edging strips after cutting your initial line—then maintain with your shovel twice yearly.
Terrible Tip Disclaimer
“Just use your lawnmower’s trimmer wheel!” Nope. String trimmers fling grass clippings into beds (hello, new weeds!), and mower wheels compact soil, damaging shallow roots. Save the mower for turf—keep the shovel for borders.
Real Results: Before & After My Backyard Border Reboot
Last spring, I overhauled my 40-foot perennial border using a Fiskars Precision Garden Edger (a top-rated yard edging shovel with a D-grip handle and stainless blade). Before: fuzzy, mossy edges with crabgrass weaving through coneflowers. After: a laser-straight trench that stayed clean for 5 months with zero herbicide.
Maintenance time dropped from weekly weeding (15 mins) to bi-monthly touch-ups (3 mins). More importantly, my salvia and black-eyed Susans doubled in bloom density—thanks to reduced root competition.
This isn’t magic—it’s mechanics. A clean vertical cut severs rhizomes before they establish. Combine that with proper mulching, and you’ve built a passive defense system that works while you sleep.
Yard Edging Shovel FAQs
What’s the best yard edging shovel for rocky soil?
Look for reinforced blades with thick gauge steel (≥1.8mm) and a forged tang that runs through the handle. The Radius Garden 203 PRO is engineered for tough conditions—it even has an ergonomic handle to reduce wrist strain.
Can I use a yard edging shovel for flower beds AND walkways?
Absolutely. Its precision excels at curved pathways too. Just pivot your wrist gently as you slice—don’t force sharp turns. For tight corners, switch to hand edgers.
How often should I replace my yard edging shovel?
With basic care, a quality model lasts 7–10 years. Signs it’s time: chipped blade edge, wobbly handle connection, or persistent rust pits that catch soil.
Is edging necessary if I have plastic landscape borders?
Yes! Plastic bends, sinks, or cracks over time. Grass exploits those gaps. Edging along the inside edge twice a year keeps runners from sneaking under.
Conclusion
A yard edging shovel isn’t just another garden gadget—it’s a strategic investment in low-maintenance, healthy landscapes. By creating clean, deep barriers, you stop invasive grass before it strangles your plants, slash weeding time, and elevate your yard’s aesthetic with minimal effort.
Remember: technique trumps strength. Use rhythmic plunges, keep your blade sharp, and edge during cooler hours. And for the love of hydrangeas, ditch the kitchen knife.
Now go carve some crisp lines. Your future self—sipping lemonade while neighbors wrestle with tangled borders—will thank you.
Like a Tamagotchi, your garden edges need daily care… or at least twice-yearly attention.
Steel blade sings
Through earth, clean lines begin—
Weeds stay out. Peace in.