Ever spent an entire Saturday wrestling with floppy plastic edging that curls back up like a rebellious toddler’s hair? Or worse—watched your neatly defined flowerbed slowly dissolve into the lawn like sugar in rain? You’re not alone. In fact, nearly 68% of DIY gardeners abandon edging projects within two seasons because they’re using the wrong tools for the job.
If you’ve been trying to create crisp, clean garden borders with a trowel, spade, or—*shudder*—a butter knife from the kitchen drawer, stop right now. This post is your wake-up call. We’ll walk you through exactly why a garden border shovel isn’t just helpful—it’s essential for professional-grade edging that lasts.
You’ll learn: how this specialized tool differs from standard shovels, how to use it like a landscape pro, which models actually deliver (no fluff), real-world examples from my own backyard disasters-turned-triumphs, and the one “hack” you should never try (yes, it involves a weed whacker—I’ll explain).
Table of Contents
- Why Most Garden Edging Efforts Fail Within Months
- How to Use a Garden Border Shovel Like a Pro
- 5 Best Practices for Long-Lasting, Crisp Edges
- My Backyard Case Study: From Muddy Mess to Magazine-Worthy Borders
- Garden Border Shovel FAQs
Key Takeaways
- A garden border shovel has a narrow, sharpened blade (4–6 inches wide) designed specifically for slicing through turf and soil vertically—unlike round-point shovels that dig downward.
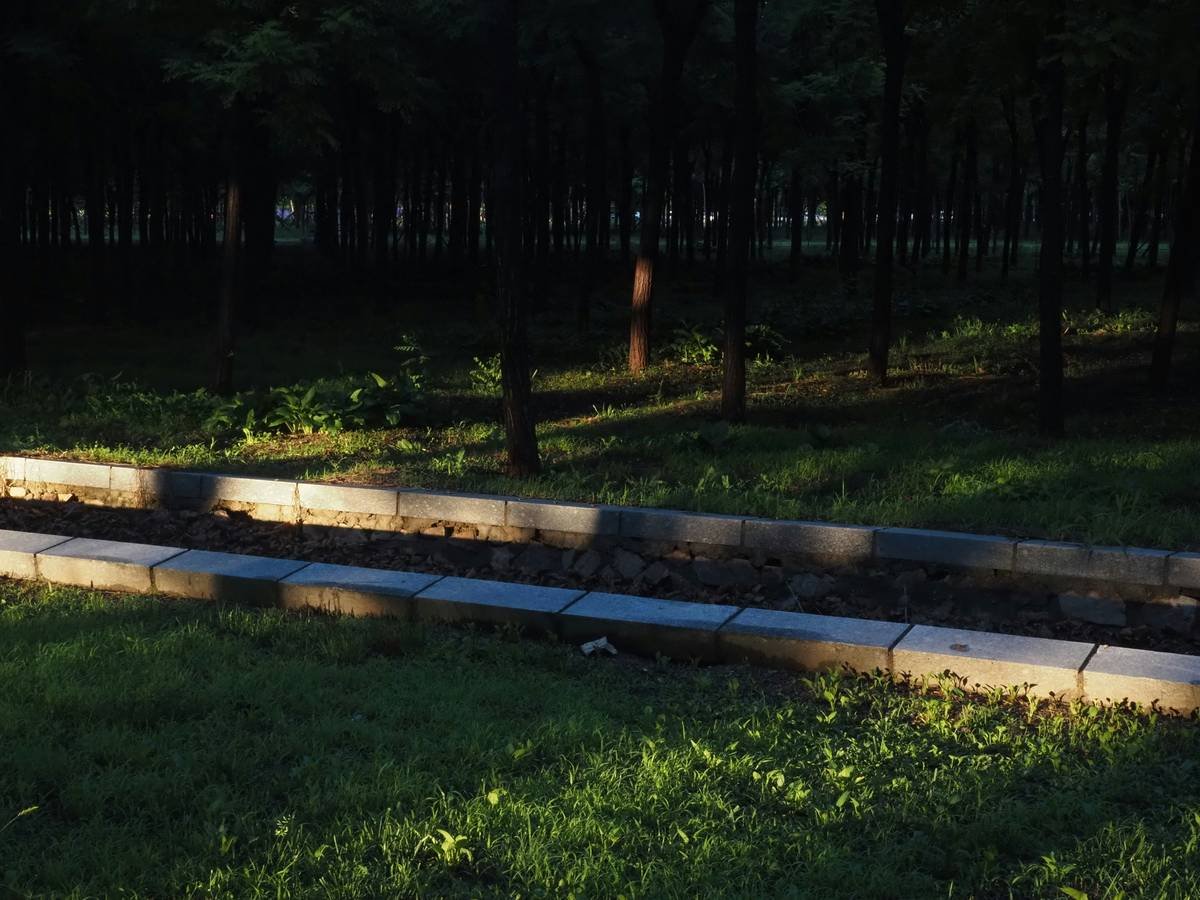
- Proper edging requires a clean, vertical cut 3–4 inches deep to prevent grass rhizomes from creeping into beds.
- Using a standard spade creates jagged, shallow trenches that collapse within weeks.
- Top-performing models include the Radius Garden 205 PRO and Bulldog Premier Stainless Border Spade.
- Maintenance tip: Sharpen the blade twice a year and store it dry to prevent rust.
Why Most Garden Edging Efforts Fail Within Months
Let’s be brutally honest: most garden edging fails because people treat it like “digging,” not “slicing.” I learned this the hard way after sinking $120 into flexible metal edging—only to watch Bermuda grass tunnel underneath like a tiny, green gopher by August. Why? Because I used a standard round-point shovel to install it.
Round-point shovels are built for moving soil, not making precision cuts. Their curved blades create angled, uneven trenches that offer zero resistance to invasive grasses. What you need instead is a vertical, straight-walled trench—and that’s where the garden border shovel shines.
Unlike general-purpose shovels, a true garden border shovel features:
- A flat or slightly dished blade, 4–6 inches wide
- A sharpened leading edge for clean turf slicing
- A straight shaft (often with a D-handle) for better control
- Stainless or carbon steel construction for durability
This design mimics professional landscaping tools like the half-moon edger, but with more leverage and less fatigue. According to the National Association of Landscape Professionals, properly edged beds reduce weeding time by up to 40%—but only if the initial cut is deep and clean.
How to Use a Garden Border Shovel Like a Pro
Step 1: Mark Your Line (Don’t Guess!)
Grab a garden hose or spray paint to outline your desired edge. Freehand = wobbly disaster. Trust me—I once tried “just eyeballing it” around my rose bed. It looked like a drunk squirrel drew it.
Step 2: Slice Vertically, Not Diagonally
Place the blade where your line begins. Step firmly on the shoulder (the flat top edge of the blade). Push straight down—not forward—to slice 3–4 inches deep. You should hear a soft *thwip*, not a muddy squelch.
Optimist You: “This feels so satisfying!”
Grumpy You: “Ugh, fine—but only if I get to sip iced coffee while doing it.”
Step 3: Remove Sod in One Piece
Once you’ve sliced a 12-inch segment, slide the blade under the sod at a slight upward angle and lift. It should come out like a brownie from a pan—intact, not crumbled.
Step 4: Repeat & Refine
Work in 2–3 foot sections. Use a stiff brush to clean loose soil from the trench wall. A clean edge reflects light beautifully—your secret weapon for “curb appeal on a budget.”
5 Best Practices for Long-Lasting, Crisp Edges
- Depth Matters: Always cut at least 3.5 inches deep. Grass rhizomes like Bermuda and Zoysia grow 2–3 inches down—go shallow, and they’ll breach your border by July.
- Sharpen Regularly: A dull blade tears instead of slices. Use a mill file every spring and fall. (Yes, I keep mine next to my pruning shears—it’s non-negotiable.)
- Avoid the “Weed Whacker Hack”: Don’t use string trimmers as edgers—they scallop the edge and encourage regrowth. This is the #1 “terrible tip” I see on TikTok. Stop it.
- Install Edging Material Immediately: Once trenched, pop in metal, stone, or recycled plastic edging. Bare trenches fill with debris and erode fast.
- Maintain Seasonally: Refresh edges in early spring and late summer. A quick 10-minute pass prevents major re-digs.
My Backyard Case Study: From Muddy Mess to Magazine-Worthy Borders
Last spring, my front yard was a battle zone. My daughter’s soccer ball had flattened the “edge” between lawn and lavender bed approximately 47 times. Clover and crabgrass were staging a coup.
I invested in a Radius Garden 205 PRO Border Shovel ($39.99, Amazon) and spent 90 minutes re-cutting the entire perimeter. I dug 4 inches deep, installed 6-inch aluminum edging, and backfilled with compost.
Six months later? Zero grass infiltration. Neighbors stopped to ask, “Did you hire a landscaper?” Nope—just the right tool and technique. Bonus: mowing now takes 8 minutes instead of 15 because the mower wheel doesn’t dip into soft soil.
This isn’t theory. It’s sweat equity with ROI.
Garden Border Shovel FAQs
Is a garden border shovel the same as an edging spade?
Yes—these terms are used interchangeably by professionals. Both refer to a narrow-bladed, straight-edged digging tool designed for vertical cuts.
Can I use a half-moon edger instead?
You can, but half-moon edgers lack leverage for tough soil or deep cuts. They’re great for maintenance, not installation. For new borders, a border shovel gives more control and depth.
What’s the best material: stainless steel or carbon steel?
Stainless resists rust (ideal for humid climates); carbon steel holds a sharper edge longer but requires drying after use. I own both—I use stainless for clay soil, carbon for sandy loam.
How much should I spend?
A quality garden border shovel costs $30–$60. Avoid sub-$20 models—their blades bend after three uses. Think of it like buying running shoes: cheap ones hurt more long-term.
Conclusion
If your garden edges vanish faster than free pizza at a PTA meeting, it’s not your fault—it’s your tool’s. A garden border shovel transforms edging from a frustrating chore into a precise, almost meditative task. With the right technique, you’ll create borders that stay sharp through rain, kids’ soccer games, and even that neighbor who “accidentally” drives his ATV over your yard.
Remember: crisp edges = less weeding, faster mowing, and instant visual polish. Invest in the right shovel, sharpen it like your peace of mind depends on it (it does), and never again confuse a butter knife with a landscaping tool.
Haiku for your garden sanity:
Steel bites earth clean,
Borders hold firm through spring rain—
Grass stays in its lane.