Your lawn looks messy. Grass creeps into flower beds like an unwelcome guest. Mulch spills onto the sidewalk. You’ve bought plastic strips, metal borders, even those wobbly brick kits—and none stuck long-term. Here’s the reality: expensive materials aren’t the answer. How to edge garden with shovel isn’t just a throwback—it’s the sharpest, most sustainable technique on the block.
Why Store-Bought Edging Fails Within a Season
Plastic buckles in summer sun. Metal rusts or heaves in freeze-thaw cycles. Stone paths shift after heavy rain. And installation? Half the time, you’re digging anyway—so why add another layer of maintenance?
The real issue isn’t your effort. It’s your tool philosophy. Most homeowners treat edging as a “barrier problem.” But pros know it’s a definition problem. Clean lines come from consistent angles—not from stacking hardware that fights nature.
How to Edge Garden with Shovel: A Step-by-Step Walkthrough
Forget power tools for this job. A sharp spade and 20 minutes beat any gadget. Here’s how:
Choose the Right Shovel
Not all shovels work. You need a flat-edged spade—square nose, stiff blade, D-grip handle. Round-point shovels tear turf; trenching shovels are too narrow. Your spade should feel like an extension of your arm—balanced, not heavy.
Mark Your Line First
Use a garden hose or string to trace your desired edge. Curve it gently. Sharp 90-degree corners look unnatural and collect debris. Aim for soft arcs that follow your yard’s flow—not rigid geometry.
Cut at a Consistent Angle
Hold the spade vertically, then tilt it outward 15–20 degrees. Slice down 3–4 inches deep in one clean motion. Don’t saw back and forth—that frays roots and invites weeds.
Lift and Tidy
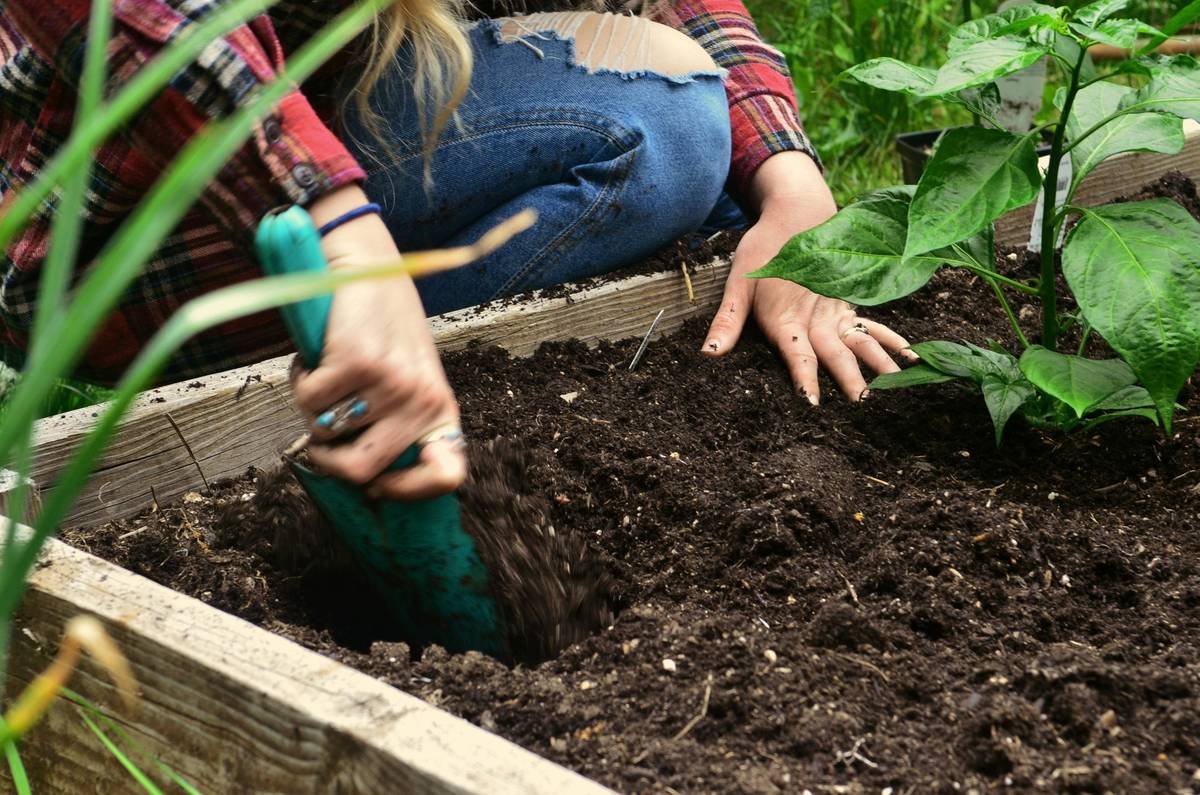
After cutting, lever the spade slightly to lift the sod strip. Flip it into your compost pile or shake off soil and lay it face-down under shrubs. Then, use the blade vertically to trim any stragglers along the trench wall.
| Method | Upfront Cost | Maintenance Needed | Lifespan (Seasons) |
|---|---|---|---|
| Shovel Edging | $0 (if you own a spade) | Re-cut every 6–8 weeks | Indefinite |
| Plastic Strip Edging | $1.50/ft | Re-stake annually; replace UV-warped sections | 2–3 |
| Metal Landscape Edging | $4–$7/ft | Dig out for leveling; rust touch-ups | 5–7 |
| Concrete Curbing | $8–$12/ft (pro install) | Crack repair; root intrusion | 10+ |
The Industry Secret: Edging Is a Rhythm, Not a Chore
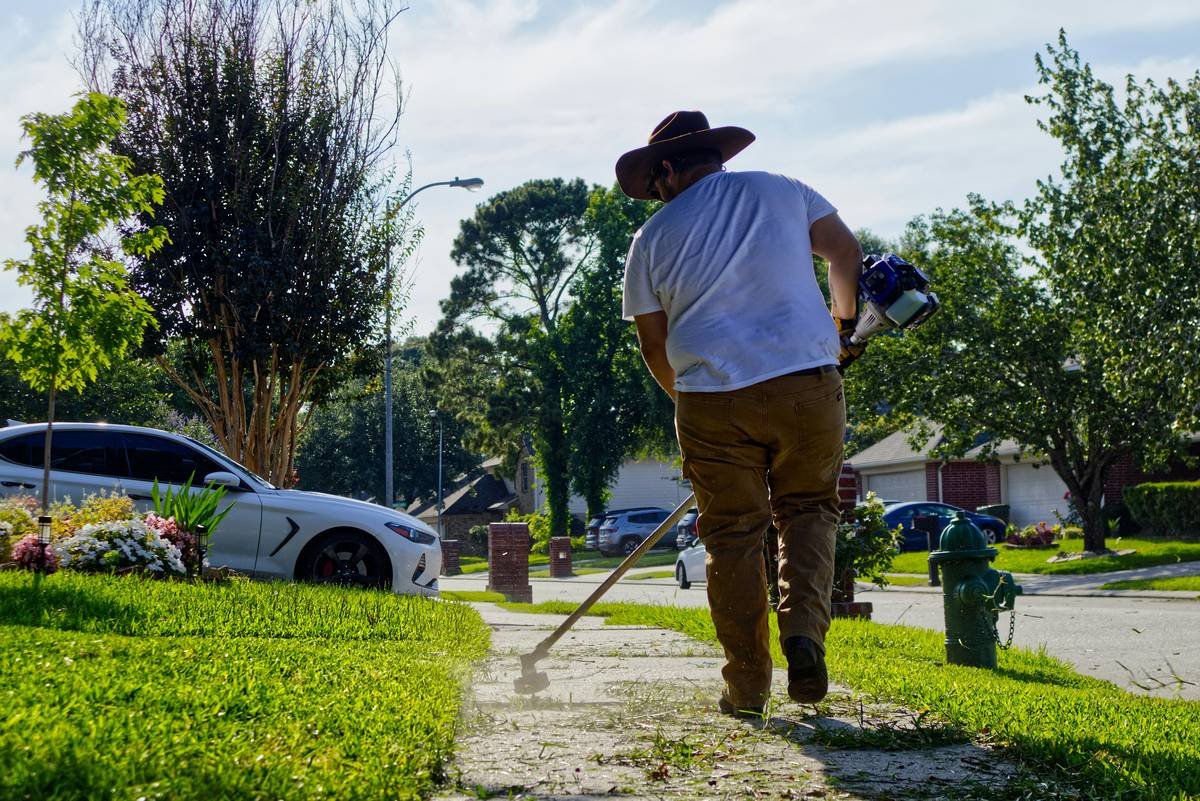
Here’s what landscapers won’t say: they don’t “install” edges—they maintain them weekly with quick passes. A five-minute shovel sweep every Saturday keeps beds crisp without labor spikes. Think about it: grass grows ~1 inch per week in peak season. That’s all you’re removing—no excavation needed.
And timing matters more than you think. Edge right after mowing. Wet soil sticks to blades and tears. Dry, compact earth gives clean cuts. Also—never edge before rain. Water fills the trench and erodes your line overnight.
Frequently Asked Questions
Can I use a regular shovel instead of a spade?
Not really. A round-point shovel lacks the straight edge needed for clean vertical walls. You’ll end up with ragged, uneven borders that invite grass invasion within weeks.
How deep should my shovel cut be?
3 to 4 inches is ideal. Deeper trenches collapse; shallower ones let rhizome grasses like Bermuda creep under. Stick to mid-blade depth on a standard spade.
Do I need to add mulch after edging?
Only if your beds already use it. Fresh edging creates a natural barrier—mulch is cosmetic here. In fact, piling mulch against the new edge speeds decay and invites fungal growth.