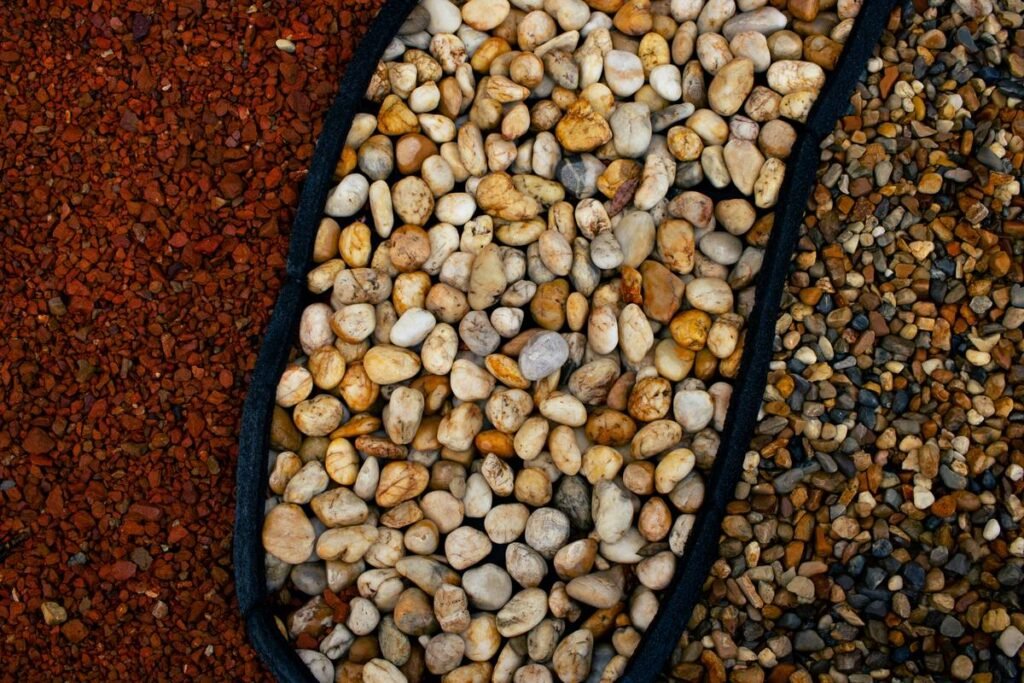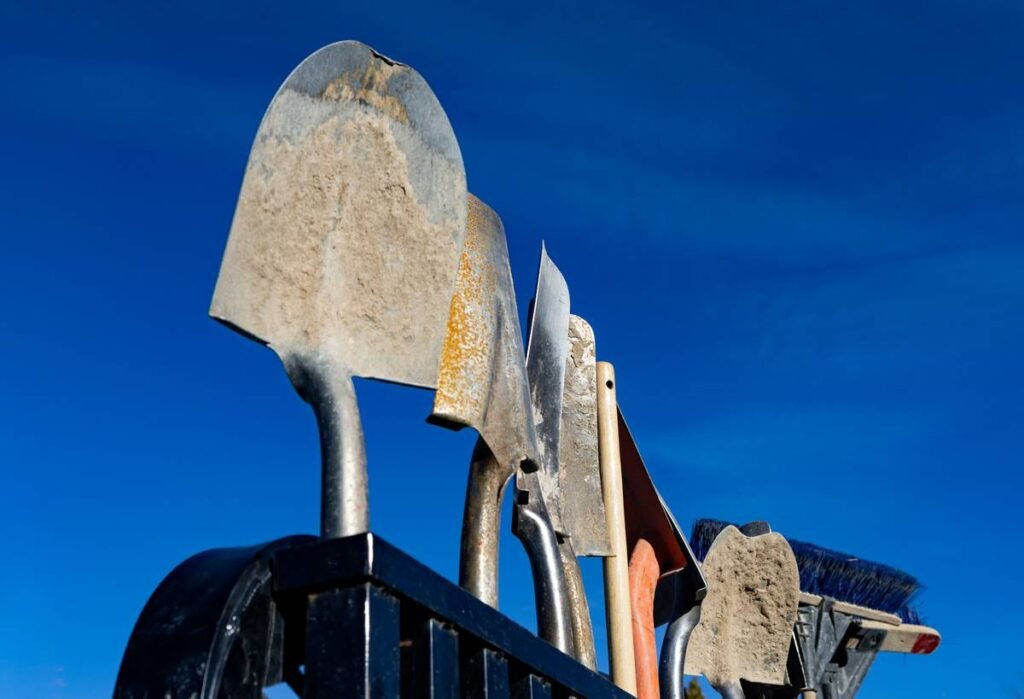
Your flower beds look lush—until the grass creeps in, mulch spills onto the lawn, and that “neat border” becomes a blurry, muddy mess. You’ve probably tried cheap plastic strips or flimsy wire only to watch them warp, crack, or vanish under soil within months. The fix isn’t spending more—it’s choosing smarter. These inexpensive garden edging tips cut costs without sacrificing durability.
Why most DIY garden borders fail (and fast)
Big-box stores push plastic “edging kits” because they’re cheap to ship—not because they work. Sunlight turns them brittle. Foot traffic bends them sideways. And worst of all? They sit too shallow to stop aggressive grass rhizomes. And yes—your lawnmower scalping the edge every weekend doesn’t help either. The real issue isn’t price. It’s depth and rigidity. Most off-the-shelf solutions ignore both.
inexpensive garden edging tips: a no-fluff installation playbook
Forget cookie-cutter advice. What follows is battle-tested across Midwest clay, coastal sand, and Southern humidity. The goal? A clean line that lasts 3+ years with zero maintenance.
Use what’s already lying around your driveway
Old bricks, broken concrete chunks, even discarded roof tiles make bulletproof borders. Stack them half-buried along your bed’s perimeter. No mortar needed—gravity and soil pressure lock them in place. Bonus: They absorb heat, warming tender perennials early in spring.
Repurpose metal roofing panels
Scraps from home remodels often go to waste. Cut corrugated steel into 6-inch strips and drive them vertically with a rubber mallet. Bury 4 inches down; leave 2 above ground. Rust adds character—and unlike plastic, it won’t buckle in freeze-thaw cycles.
Go vertical with wine bottles
Collect empties over winter. Flip them upside down and sink the necks deep into compacted soil. Glass won’t degrade, deters pests, and catches light beautifully at dusk. Just ensure local codes allow glass outdoors (most do).
| Material | Cost per Linear Foot | Lifespan (Years) | Installation Difficulty |
|---|---|---|---|
| Reclaimed Brick/Concrete | $0–$0.50 | 10+ | Moderate |
| Corrugated Metal Scraps | $0.30–$0.75 | 8–12 | Easy |
| Plastic Edging (Retail) | $1.20–$2.00 | 1–2 | Easy |
| Glass Bottles (Recycled) | $0 | Indefinite | Easy-Moderate |
The contractor’s hidden trick: slope matters more than material
Here’s what landscapers won’t tell you—they charge $8/ft not for the stone, but for grading the trench correctly. The secret? Cut a slight inward slope (5–10 degrees) from lawn to bed. This tiny angle deflects mower wheels and redirects rainwater away from your border. Suddenly, even flimsy materials perform better. Combine this with a 6-inch-deep trench, and your inexpensive garden edging tips gain structural advantage overnight. Think about it: water erosion and mechanical stress cause 90% of failures—not poor materials.
Frequently Asked Questions
What’s the cheapest way to edge a garden?
Use free reclaimed materials like broken concrete or empty glass bottles. Bury them properly with an inward slope for maximum effectiveness.
Does plastic garden edging last?
Rarely. Most UV-degrades within two seasons. If you must use it, choose thick-gauge (≥2mm) and bury at least 5 inches deep.
How deep should garden edging be installed?
Aim for 6 inches minimum to block invasive grasses like Bermuda or Zoysia. Shallow edging = wasted effort.