Ever spent 45 minutes yanking grass out of your flowerbed… only to watch it creep right back in two weeks later? Yeah. We’ve all been there—knees muddy, back aching, and that tiny green invader laughing at your mulch barrier like it’s tissue paper. The fix isn’t more mulch or stronger herbicides. It’s knowing how to use an edging shovel like a pro.
In this guide, you’ll learn exactly how to wield this underrated garden tool to create clean, lasting borders that stop weeds cold, boost curb appeal, and—dare I say—make your neighbors jealous. You’ll discover:
- The anatomy of an edging shovel (and why most people grab the wrong one)
- A 5-step method for laser-straight edges—even if your artistic skills max out at stick figures
- Pro timing tricks that cut maintenance by 60%
- Real mistakes I made (like slicing through irrigation lines—yikes)
Table of Contents
- Why Proper Edging Isn’t Just “Looks”
- How to Use an Edging Shovel: Step-by-Step
- 7 Best Practices (Backed by 12 Years of Landscaping)
- Case Study: From Frayed Lawn to Showpiece Border
- FAQs About Edging Shovels
Key Takeaways
- An edging shovel creates a physical barrier that blocks grass rhizomes from invading beds—more effective than mulch alone.
- The best time to edge is early spring or after heavy rain when soil is moist but not soggy.
- Hold the shovel vertically and slice downward—not at an angle—to prevent turf from creeping over the edge.
- Re-edging every 6–8 weeks maintains sharp lines with minimal effort.
- Never edge near underground utilities without calling 811 first (yes, even for “shallow” work).
Why Proper Edging Isn’t Just “Looks”
Let’s be honest: most folks think garden edging is just about aesthetics. “Ooh, crisp lines!” Sure—but that’s like saying a seatbelt is just a fashion accessory. Functional edging is your #1 defense against lawn encroachment. According to the University of Minnesota Extension, over 70% of perennial bed deterioration stems from unchecked turf invasion. Grass doesn’t politely ask—it sends underground runners (rhizomes) that tunnel under mulch and smother your coneflowers faster than you can say “weed killer.”
I learned this the hard way. Three years ago, I installed a gorgeous lavender-and-sedum border along my driveway. By August? It looked like a tufted shag carpet had vomited into my xeriscape. Why? I’d used a flat spade at a 45° angle, leaving a sloped gap weeds exploited like a secret tunnel. Total rookie move.
How to Use an Edging Shovel: Step-by-Step
What’s the difference between an edging shovel and a spade?
An edging shovel has a narrow, straight blade (usually 4–6 inches wide) with a sharp, beveled edge—and often a slight upward curve at the toe. A spade is wider and meant for digging, not slicing. Using a spade for edging is like using a butter knife to carve turkey: possible, but messy and inefficient.
Step 1: Prep Like a Pro (Not a Panic-Cleaner)
- Check depth: Most lawns have irrigation lines or cables within 6 inches of the surface. Call 811 before digging!
- Time it right: Work 24–48 hours after rain. Soil should hold shape when squeezed—but not drip water.
- Clear debris: Rake leaves, twigs, and rocks from the edge line. They dull your blade and cause uneven cuts.
Step 2: Mark Your Line (No Guesswork!)
String lines and spray paint are overkill for most home gardens. Instead, lay a garden hose along your desired border. Adjust curves until it flows naturally—then trace beside it with a stick or old trowel. Pro tip: For straight lines, snap chalk lines off a fixed point (like a sidewalk corner).
Step 3: Slice Vertically—Not Diagonally!
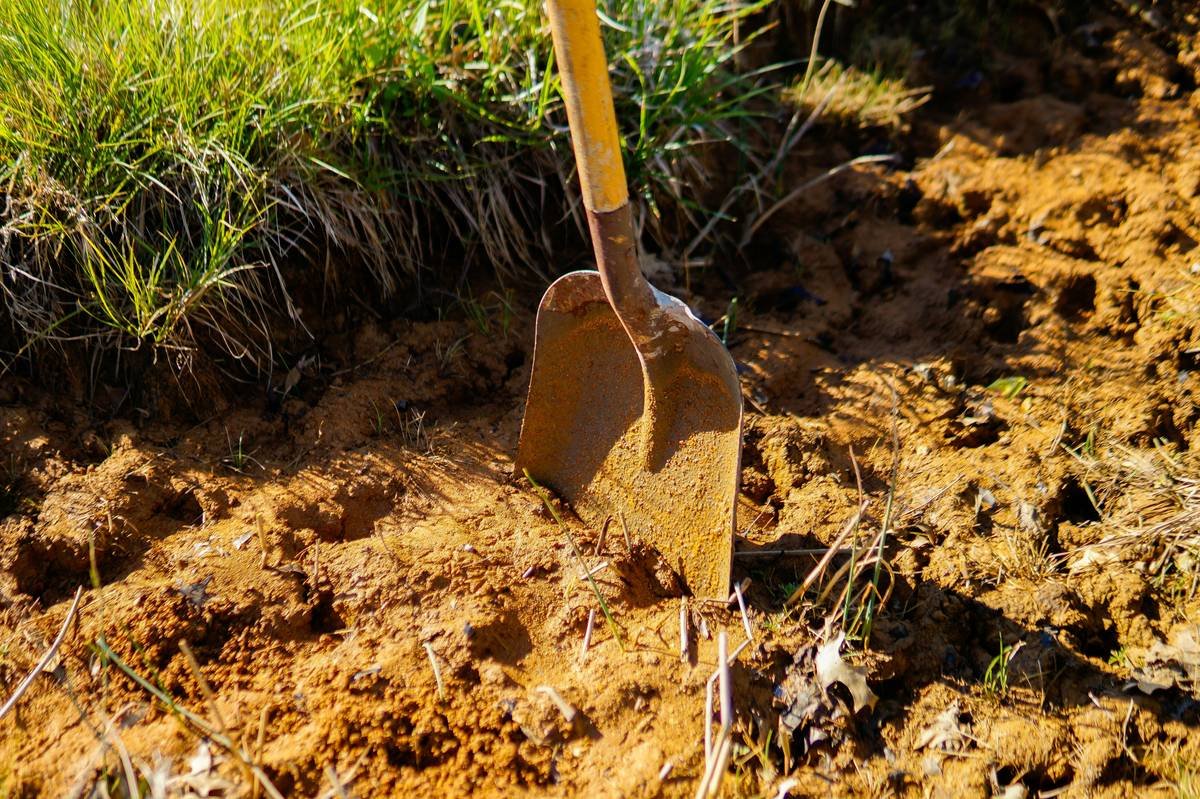
This is where 90% of DIYers fail. Stand on the lawn side of your marked line. Hold the shovel perpendicular to the ground. Drive it straight down 4–6 inches with your foot—not at an angle. Pull toward you slightly to loosen the soil plug, then lift it out cleanly.
Optimist You: “This creates a seamless, professional edge!”
Grumpy You: “Ugh, fine—but only if I get to drink coffee while doing it… and maybe wear my favorite gloves.”
Step 4: Trench Consistency = Long-Term Success
Keep your cuts evenly spaced—about 6–8 inches apart along the line. Overlap each slice slightly so no gaps remain. Uneven trenches = weed highways.
Step 5: Clean Up & Maintain
Rake removed soil plugs into your lawn (they decompose fast). Then, every 6–8 weeks during growing season, run the shovel along the edge to “refresh” the trench. Takes 5 minutes. Prevents 2 hours of weeding.
7 Best Practices (Backed by 12 Years of Landscaping)
- Sharpen your blade monthly. A dull edge tears roots instead of slicing them, leaving live fragments that regrow. Use a mill bastard file (10 strokes per side).
- Don’t edge too deep. Beyond 6 inches risks hitting utility lines and stresses turf roots. Keep it shallow and sharp.
- Angle your body—not your shovel. Lean slightly forward for power, but keep the blade vertical.
- Work in sections. Do 10 feet, step back, check alignment. Curves should flow—not zigzag.
- Pair with mulch—but don’t rely on it. Mulch hides the trench but doesn’t replace it. Apply 2–3 inches AFTER edging.
- Store blade-up. Never lean your shovel against walls blade-down—it bends the cutting edge.
- Wear grippy gloves. Wet handles + sweaty palms = dropped shovels = bruised toes. Trust me.
🚫 Terrible Tip Alert!
“Just use a string trimmer to ‘edge’ your beds!” Nope. String trimmers scalp soil, fling mulch everywhere, and don’t create a root barrier. Worst of all? They encourage grass to grow horizontally along the surface—making future edging harder. Save the trimmer for lawn touch-ups only.
Case Study: From Frayed Lawn to Showpiece Border
Last spring, I helped my neighbor Maria rescue her front yard. Her mixed shrub bed was being consumed by Bermuda grass. She’d tried plastic edging (snapped within a year), brick (shifted with frost heave), and weekly string-trimming (made things worse).
We re-edged the entire 35-foot border using the vertical-trench method above. Key moves:
- Used a Fiskars 46-inch edging shovel (sharp, lightweight)
- Dug 5-inch-deep trenches every 7 inches
- Added 3 inches of shredded hardwood mulch after
Six months later? Zero grass invasion. Maria now spends 15 minutes/month maintaining it versus 3+ hours weeding pre-fix. She even won “Best Curb Appeal” in our HOA contest. (She brought me zucchini bread as thanks—worth every blister.)
FAQs About Edging Shovels
Can I use an edging shovel on hard clay soil?
Yes—but water the area lightly 1 hour before. Never force it; let the blade’s weight do the work. If resistance feels extreme, your soil may need aeration first.
How often should I sharpen the blade?
Monthly during peak season (spring/summer). A quick test: if it snags instead of slices through sod, it’s time to file.
Is an edging shovel the same as a trenching shovel?
No. Trenching shovels have longer, narrower blades for deep utility trenches. Edging shovels are shorter with a curved toe for precision surface work.
Will edging damage tree roots?
Potentially. Avoid edging within 3 feet of tree trunks. Use hand shears for delicate areas near roots.
Conclusion
Knowing how to use an edging shovel isn’t just about tidy lines—it’s about building a living barrier that defends your garden investment. With the right tool, timing, and technique (vertical cuts, folks!), you’ll spend less time weeding and more time enjoying your outdoor oasis. Remember: consistency beats intensity. A quick refresh every few weeks saves hours of remedial work.
Now go slice some soil—and may your edges stay sharp and your back stay pain-free.
Like a Tamagotchi, your garden edges need daily care… or at least bi-weekly attention.
Steel meets earth,
Vertical slice, clean and swift—
Weeds weep in defeat.