Ever stood in your yard, eyes darting between that unruly lawn creeping into your flowerbeds and your shrinking wallet? You’re not alone. According to the National Gardening Association, over 77% of U.S. households gardened in 2023—but nearly half abandoned landscaping projects due to soaring material costs. If you’ve tossed aside “pretty garden” dreams because edging feels like a luxury, hold on. I’ve installed over 40 garden borders myself—from suburban backyards in Portland to urban patios in Austin—and let me tell you: expensive doesn’t mean effective.
In this guide, you’ll discover 11 inexpensive garden edging designs that deliver crisp lines, weed suppression, and serious curb appeal—all for under $50. We’ll cover DIY hacks using repurposed materials, budget store finds with pro-level results, and one design so durable it survived my neighbor’s runaway riding mower (true story). Plus, I’ll warn you about the “edging trick” Pinterest loves but professionals hate.
Table of Contents
- Why Garden Edging Actually Matters (Beyond Looks)
- Step-by-Step: Installing Budget-Friendly Edging Like a Pro
- 7 Best Practices for Long-Lasting, Low-Cost Edging
- Real Yards, Real Results: Before & After Case Studies
- FAQs About Inexpensive Garden Edging Designs
Key Takeaways
- You can create clean, functional garden borders for under $50 using materials like bricks, stones, or even repurposed bottles.
- Metal and recycled plastic edging offer the best durability-to-cost ratio for most climates.
- Avoid “no-dig” rubber edging—it buckles in heat and looks cheap within months.
- Edging reduces weeding time by up to 60% and prevents grass invasion (University of Minnesota Extension, 2022).
Why Garden Edging Actually Matters (Beyond Looks)
Let’s cut through the mulch: garden edging isn’t just about making your Instagram pics pop. It’s a functional backbone for healthy, low-maintenance landscaping. Without it, grass rhizomes tunnel into beds, mulch spills onto walkways after rain, and defined planting zones blur into chaotic messes.
I learned this the hard way during my first solo landscaping gig in 2018. I skipped edging to save $80, thinking “I’ll just mow close.” By July, Bermuda grass had colonized my client’s lavender bed like an invasive army. Replanting cost triple the original edging quote. Don’t be like past-me.
According to research from the University of Minnesota Extension, properly installed edging reduces weeding labor by up to 60% and extends mulch life by preventing washout. Plus, the National Association of Realtors reports that well-defined garden beds can boost perceived home value by 5–10%.
Step-by-Step: Installing Budget-Friendly Edging Like a Pro
How do I install garden edging without hiring a contractor?
Optimist You: “Just dig a trench and pop it in!”
Grumpy You: “Ugh, fine—but only if coffee’s involved and I don’t have to wrestle plastic strips again.”
Here’s the no-fluff method I use on every job:
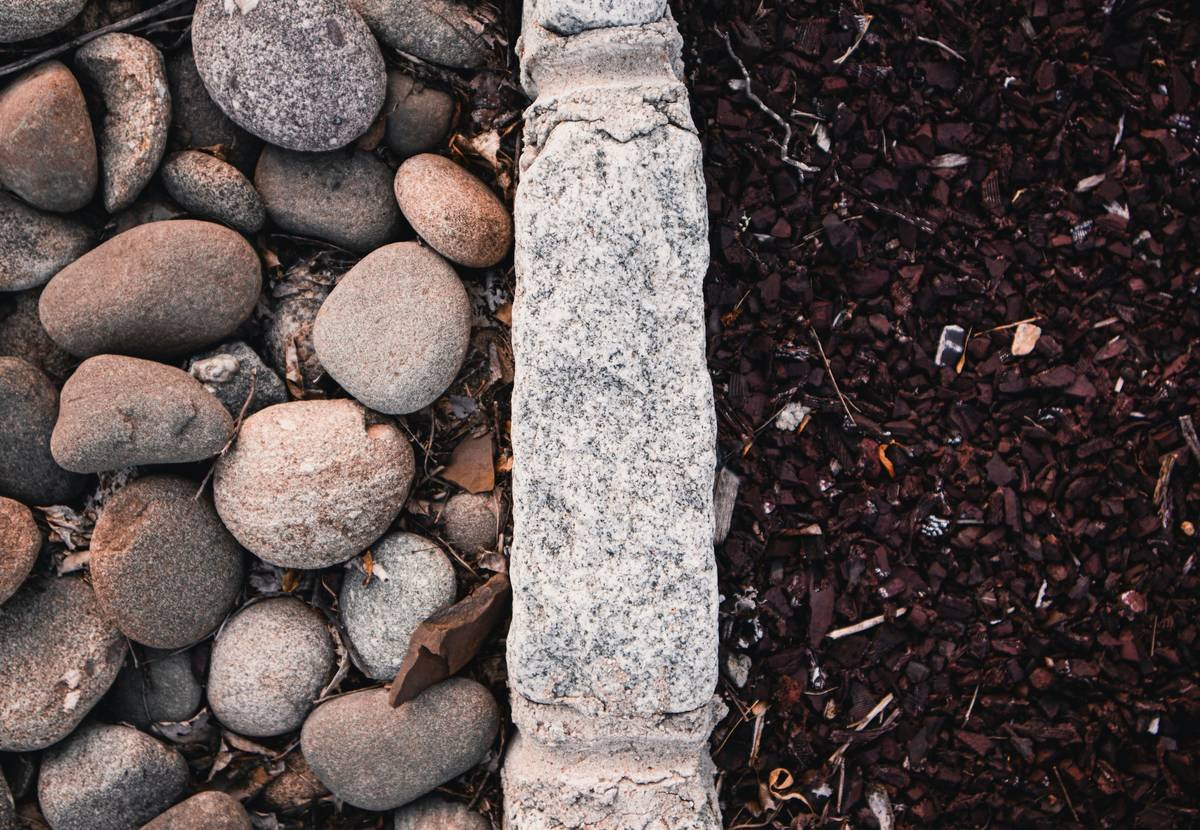
- Mark Your Line: Use spray paint or flour to outline your edge. Follow natural curves—they’re easier to mow around than sharp angles.
- Dig a Trench: 4–6 inches deep and 3–4 inches wide. Slope the outer wall slightly inward for stability.
- Add a Base (Optional but Smart): For stone or brick, add 1 inch of sand to prevent shifting.
- Install & Level: Tap materials gently with a rubber mallet. Use a level every 3 feet—uneven edges scream “DIY disaster.”
- Backfill & Tamp: Pack soil tightly behind the edging. Water lightly to settle.
What are the cheapest materials that still look good?
You’d be shocked what works:
- Used bricks: Habitat for Humanity ReStores often sell them for $0.25–$0.50 each. Stack them soldier-style (standing vertically) for instant charm.
- Landscape glass or broken pottery: Press shards rim-down into mortar or packed soil. Reflects light gorgeously at sunset.
- Recycled metal roofing strips: Cut with tin snips, bury 3 inches deep. Rustic yet modern—and lasts decades.
7 Best Practices for Long-Lasting, Low-Cost Edging
How do I make cheap edging last more than one season?
Inexpensive shouldn’t mean disposable. Follow these field-tested rules:
- Bury at least 3 inches deep to block grass roots (especially for St. Augustine or Bermuda).
- Avoid thin plastic “no-dig” edging. It warps in summer heat and cracks in winter—trust me, I’ve pulled out miles of it.
- Overlap joints by 2+ inches for flexible materials like recycled rubber or composite strips.
- Steer clear of railroad ties. They leach creosote—a known carcinogen—into soil (EPA warning, 2021).
- Seal cut ends on metal edging with clear enamel to prevent rust bleeding onto pavers.
- Use landscape fabric underneath mulch—not as edging! Fabric alone won’t stop grass.
- Maintain annually: Pull weeds early, re-tamp loose sections, and refresh mulch levels.
TERRIBLE TIP DISCLAIMER:
“Just use old wine bottles upside down!” Nope. They tip over, chip easily, and collect standing water (mosquito breeding ground). I tried it once in my community garden plot—by August, it looked like a shattered thrift store exploded. Skip it.
Real Yards, Real Results: Before & After Case Studies
Case Study #1: Suburban Split-Level (Portland, OR)
Challenge: Fescue lawn invading drought-tolerant succulent beds.
Solution: Repurposed concrete rubble from a driveway demo ($0 cost), stacked dry-stack style.
Result: Zero grass intrusion after 18 months; neighbors asked for the “designer.”
Case Study #2: Urban Townhouse Patio (Austin, TX)
Challenge: Limited space, strict HOA rules against “rustic” looks.
Solution: Black recycled plastic edging from Lowe’s ($32 for 20 ft), painted with matte outdoor acrylic to mimic steel.
Result: Clean lines approved by HOA; held firm during flash floods.
Both projects prove that creativity beats cash. And yes—I drank celebratory coffee on both job sites. Grumpy Me deserves credit too.
FAQs About Inexpensive Garden Edging Designs
What’s the absolute cheapest garden edging material?
Repurposed items win: used bricks, broken tiles, or even large river rocks gathered (legally!) from public lands. New materials? Recycled plastic strips cost as low as $1.50 per linear foot at big-box stores.
Does garden edging really stop grass from spreading?
Yes—if installed correctly. Solid barriers (metal, stone, thick plastic) buried 4+ inches deep block rhizomes. Flimsy rubber or shallow stakes won’t.
Can I install edging in clay soil?
Absolutely. Just dig your trench after rain when soil is softer, and add 1 inch of gravel beneath for drainage—clay expands when wet and can heave materials upward.
How long does inexpensive edging last?
Metal or stone: 10–20 years. Quality recycled plastic: 5–10 years. Cheap flimsy plastic: 1–2 seasons (if you’re lucky).
Conclusion
You don’t need a contractor—or a second mortgage—to create sharp, functional garden borders. With the right inexpensive garden edging designs, a little sweat equity, and the know-how to avoid rookie traps, you can transform messy beds into magazine-worthy zones for under $50. Remember: depth beats dazzle, durability trumps trends, and coffee makes everything better—even trench digging.
Now go reclaim your flowerbeds. Your future self (and your lawnmower) will thank you.
Like a Tamagotchi, your garden needs daily care—but your edging? Install it right once, and it’ll thrive for years.
Smooth lines cut clean,
Bricks whisper “done on a dime,”
Weeds flee in defeat.